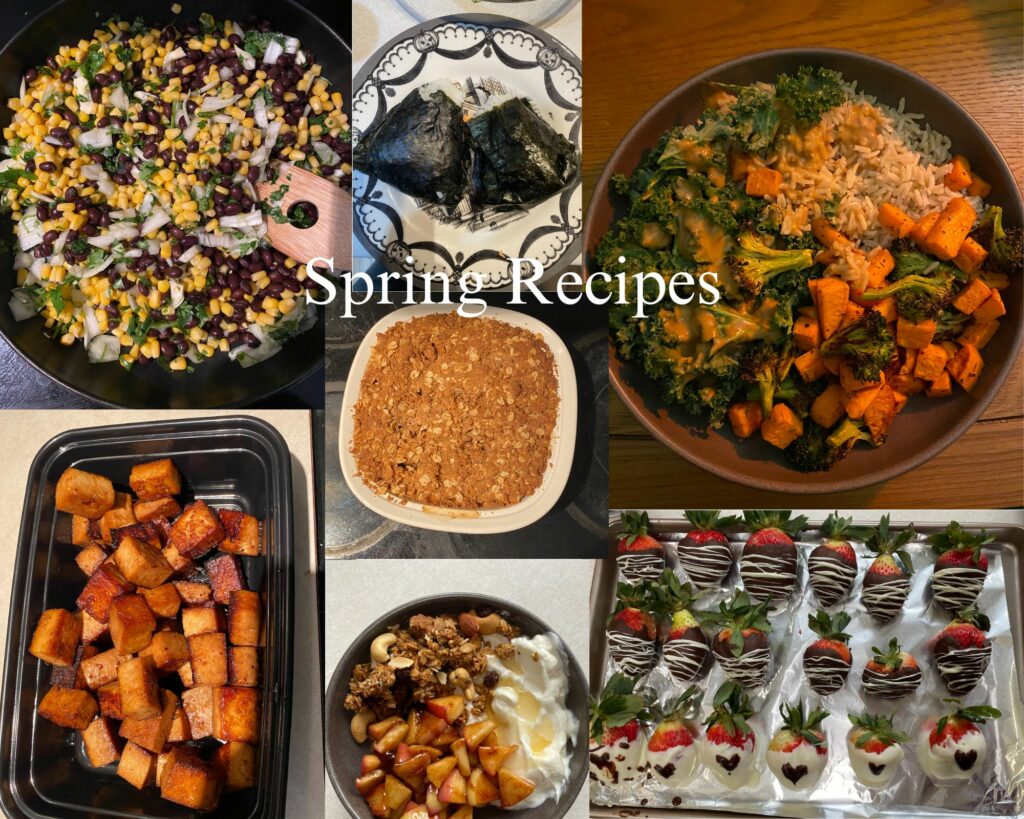
I have really enjoyed trying all of these new recipes this semester! I made a little collage to show everything I made, and I love looking at everything together. Overall I really loved this project and I am grateful that I had the chance to try so many new things!
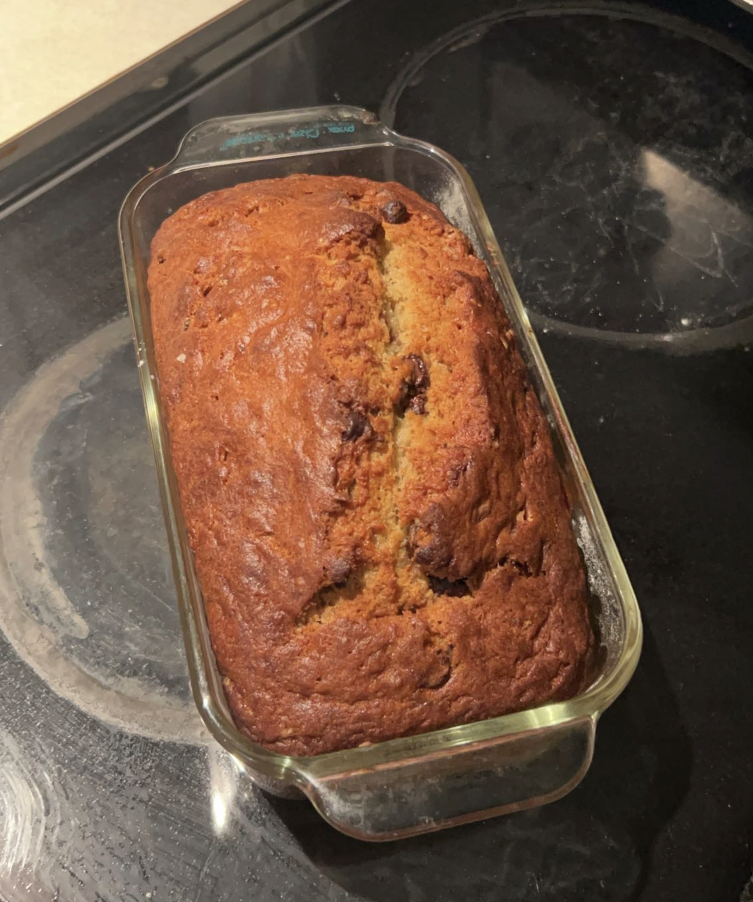
Banana bread is so good at any time of the day! I love it for breakfast, I love it for a snack, I love it for dessert – and the list goes on! Last year I became obsessed with the chocolate banana bread from The Cove at UVic, and I wanted to try to recreating it!
This took me a little bit longer than some of my other recipes – but it was still very simple! I completely forgot to add the chocolate chips into the batter and so I had to push them in later. It worked out though and now I have banana bread for the week!
My Personal Ratings:
The Process: 8/10
I found this pretty simple! It was a bit tricky in my oven because the outside began getting dark a long time before the inside was cooked – and I started getting nervous that the outside would burn. However it ended up not being an issue and I’m very happy with the results!
The Taste: 10/10
Delicious! I’ve been loving having this all ready to go for really any time that I get hungry. It definitely lets me satisfy my banana bread craving without having to keep buying single pieces. I love warming it up in the microwave with some butter – or just grabbing some on my way out the door! I would definitely make it again!
A link to the recipe I referenced: https://www.recipetineats.com/apple-crumble/
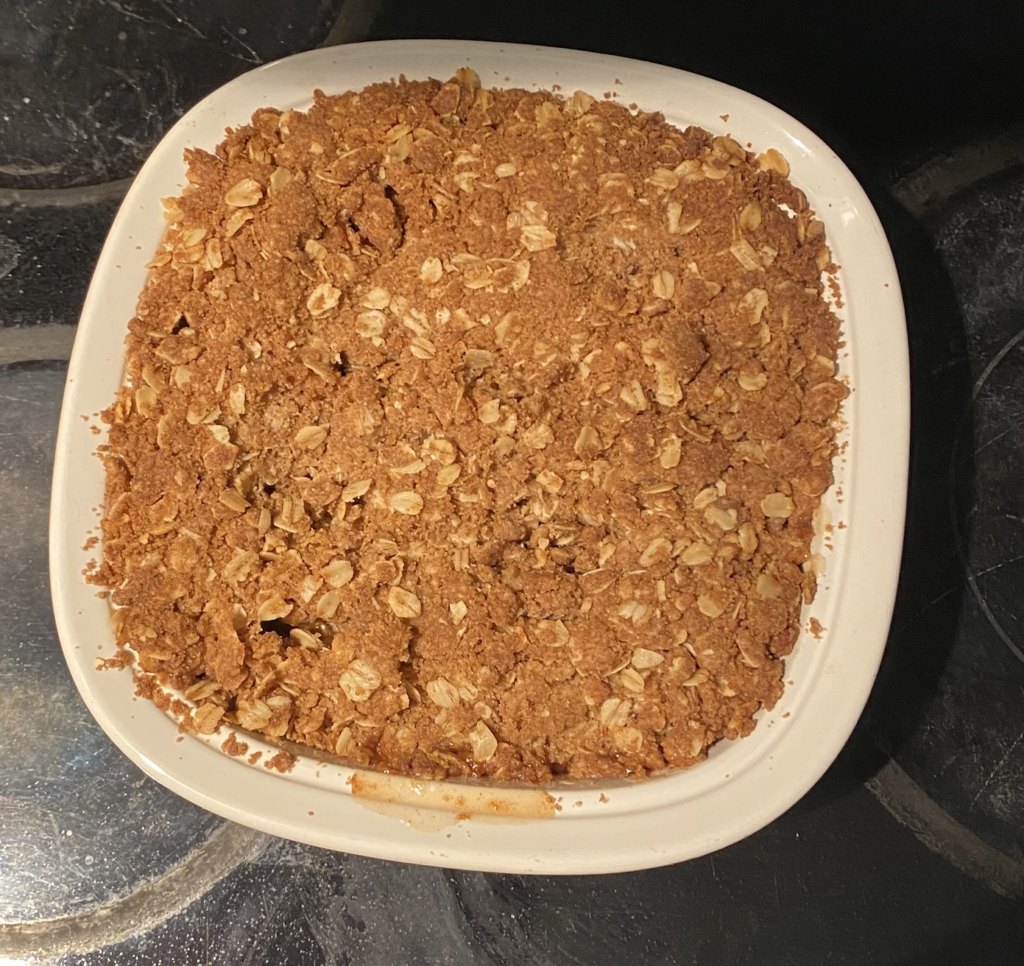
I love all fruit desserts (except fruitcake)! I especially love pie and any dessert that is at all similar to pie. You can see from my last blog post that I having been having lots of apple desserts lately – and so here I present the latest. The apple crumble.
My roommate and I had talked about making this all week last week – and on Saturday we finally did. While I have made many apple pies, I do not think I have made a crumble since Grade 8 foods class. I was so excited to make one again – but I had no idea what to do or how it would turn out!
As I made it with my roommate, we were able to tag-team the process. I especially enjoyed peeling all of the apples for her to cut – it is just so satisfying! The whole process went much quicker than I thought it would and before I knew it – it was time to eat (although not before the delightful smell travelled all about our house).
My Personal Ratings:
The Process – 10/10
I am definitely biased to the recipes I make with friends, but this was just so much fun! I loved peeling the apples and putting everything together. It was so quick – and the smell was incredible!
The Taste – 10/10
Absolutely delicious! For reference, we made this Saturday evening and it was gone by Sunday night – and then we made another one Monday afternoon! That should really show our love for this crumble. It is everything I look for in a dessert (and more). I think the only thing that would top it off (although it is already a 10/10) would be vanilla ice cream! That might have to come soon…
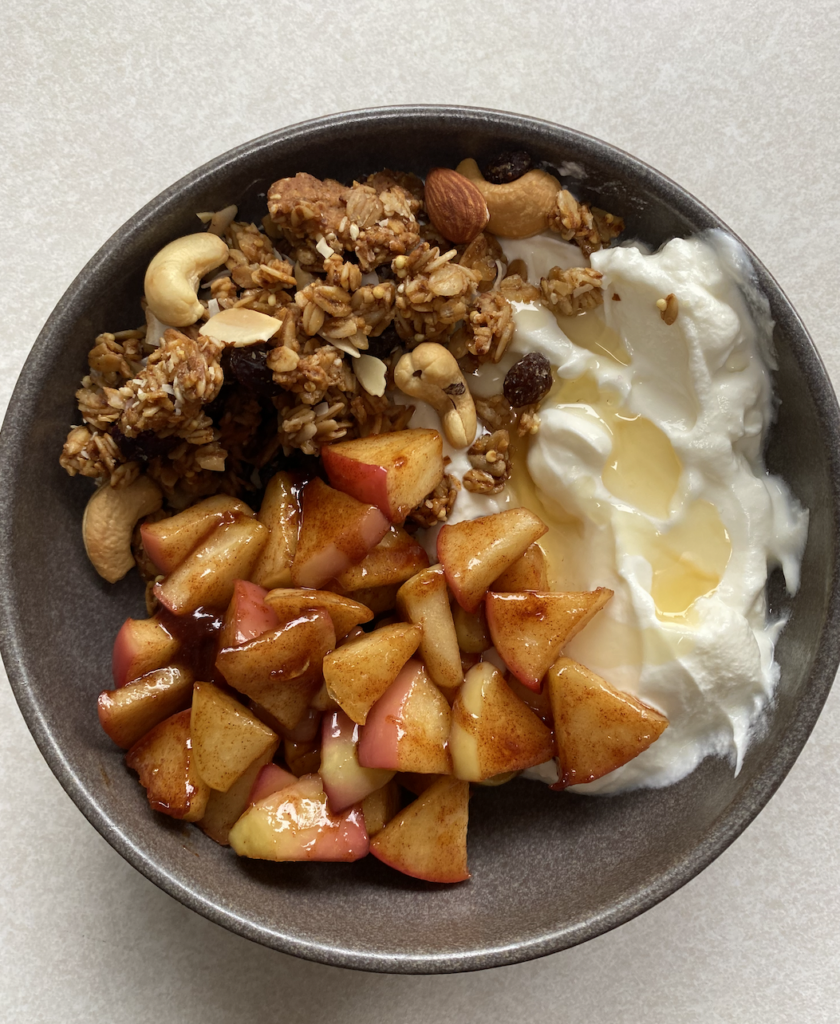
Now, I am no stranger to yogurt bowls. Not at all actually, I have one for breakfast almost every day – and then sometimes another after dinner. I LOVE yogurt bowls. I think they are perfect in every way. So, when I started seeing people online making apple pie yogurt bowls I was immediately intrigued. Another thing I love just happens to be apple pie!
I saw a few different ways of making these, but the basic idea is that you mix caramelized apples, greek yogurt, and some form of oats. As yogurt bowls are my favourite thing in the world I already had granola and greek yogurt – meaning that all I had to do was make the apples.
I have not made caramelized apples before – but I asked a friend and she told me what to do. It ended up being a very quick process and in almost no time I got to eat my bowl!
My Personal Ratings
The Process – 10/10
I really have no complaints with this one. It was easy, quick, used ingredients that I already had, and created an incredible smell. It was so easy that I could even see myself making it in the morning before school.
The Taste – 10/10
DELICIOUS! I was actually surprised by how much this tasted like apple pie and ice cream. I loved every bite of this bowl and I wanted more almost immediately. Yogurt bowls were already a 10/10 for me and this made me love them even more.
Yesterday, I decided to cook tofu. Tofu is not something that I have a ton of experience cooking. I have thrown it into pasta and stir-fry many times, however I have not really focused on adding flavour to the tofu itself. I have seen my sister make it in many (delicious) ways and it always seems like a long process that I am just not patient enough to commit to. Due to this, I decided to try to find a simple enough method that I can make regularly.
I just looked up “simple tofu recipe”, and this marinated tofu recipe was one of the first things that popped up. I had a look and realized that, besides the tofu, I already had all of the ingredients! Immediately I was sold!
This recipe involved a lot of waiting (pressing the tofu + letting it soak), but I didn’t mind this too much because it gave me time to do homework and fold my laundry. I found that coming back and completing each step served as a good way to take breaks. While it technically took a long time to make – I spent most of my time doing other things.
Overall, I found the whole process very smooth! Each step was simple, and I love the way it turned out!
My Personal Ratings:
The Process – 8/10
I actually enjoyed making this! I honestly didn’t think that I would; I expected it to be too long and too boring to make. I really thought that I would make it just this once and then maybe again in months from now. However, I was completely wrong! This was relaxing and easy! I found it totally worth all of the time I spent waiting. I would recommend this as an easy way to make tofu and I will be making it again soon!
The Taste – 7.5/10
I love the flavour of this! Letting it soak in the marinade before cooking it really made a difference.
The recipe I referenced: https://www.eatyourselfskinny.com/perfectly-roasted-broccoli-sweet-potatoes/
I have been wracking my brain trying to think about what to make! I look at recipes all day long, but most of them use tons of ingredients. I have found this discouraging because I do not want to buy a full portion and end up wasting a lot of it.
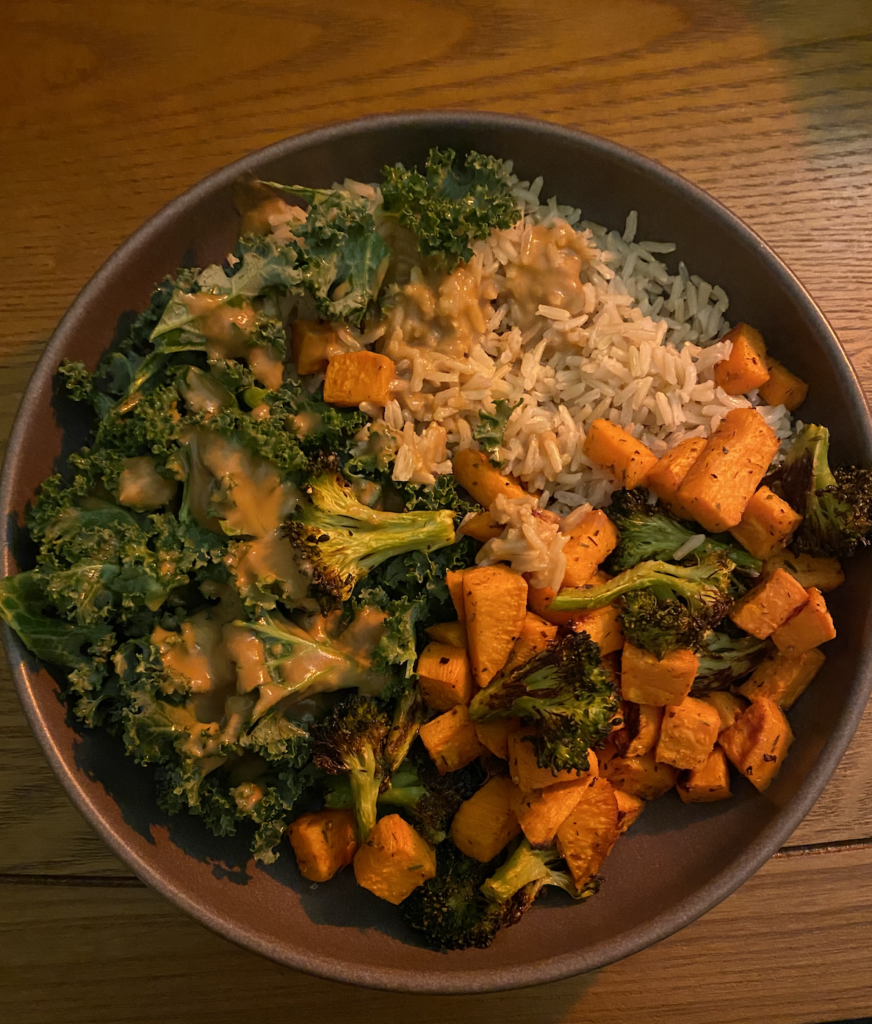
However, today I felt a lightbulb go off! I was craving a big bowl that was fresh, and sweet – but still savoury. I realized that I could go back to the basics and have some of my favourite vegetables in a simple way. I then came up with this combination of ingredients: rice, kale, roasted sweet potatoes and broccoli, and dressing. I went to the store, got my ingredients, and then began cooking.
Following the recipe to roast the vegetables was very simple. I enjoyed the process and it did not take much time at all! I also found this to one of the easiest recipes to clean up during the process. By the time my vegetables were ready everything was prepared and I was ready to eat! I also used a miso dressing on top and it ended up being delicious!
My Personal Ratings:
The Process: 10/10
This was so easy! It was easy and quick to prep, and used very few ingredients. I will definitely be making this again and I am already looking forward to it. It is a great week-night meal that I would absolutely make again.
The Taste: 9/10
This was delicious! It was sweet and savoury – and the combination of flavours worked very well. I also loved the combination of the cold and fresh kale with the warm vegetables and rice (and then the delicious dressing!).
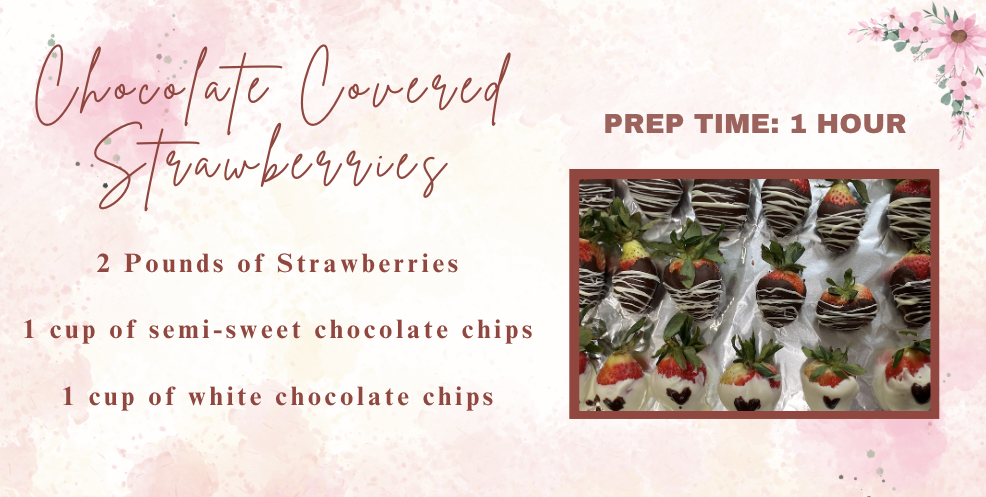
Chocolate covered strawberries are a delicious (and visually pleasing) treat! Last Saturday I decided to try making them, and they did not disappoint.
I created this recipe card on Canva – which tells you the necessary ingredients. Unsurprisingly – you need chocolate and strawberries. I found these giant strawberries at the store and they were perfect – and I also grabbed 2 bags of chocolate chips (one semi-sweet and one white).
When I got home, I began by washing the strawberries and then patting them dry with a towel. My roommate let me know that this step is very important – to make sure that the chocolate sticks to the strawberries. I then prepared my station by covering a pan with tinfoil. After that, microwaved the semi-sweet chocolate in 30 second increments – stirring each time. Once it was fully melted, I began dunking the strawberries! This was very easy and luckily my strawberries were dry enough that the chocolate stuck very well each time. I dipped about two thirds of the strawberries and then let them sit while I moved on to the white chocolate strawberries.
Here is what they looked like at this point:
I then repeated the same process with the white chocolate – also went very smoothly!
The most tricky part was creating the designs on the tops of the strawberries. I had planned to drizzle semi-sweet chocolate on top of the white chocolate strawberries and then vice versa.
However, when I went to drizzle the semi-sweet chocolate – it fell in globs! I tried to melt the chocolate more, and I tried adding milt – but I could not make it the proper consistency for drizzling. To remedy this – I decided to make hearts on the white chocolate strawberries. This ended up working very well and I am very happy with how they turned out!
I ended up being able to drizzle the white chocolate very well – which was interesting to see!
After this I just left them to dry and then they were all done!
Here is a closer look at the result:
(the strawberry in the bottom left corner shows my attempt to drizzle semi-sweet chocolate)
My Personal Ratings
The Process – 10/10
These were inexpensive, the ingredients were easy to find, and they were so much fun to make! This reminded me of doing a craft – except I ended up with a delicious result. I would absolutely make these again!
The Taste – 10/10
I doubt this rating comes as a surprise. These were absolutely delicious and I would eat them every day if I could! Honestly perfect in every way.
Overall – love love LOVED these. Everything about them was amazing – from the process, to the look, to the taste. I HIGHLY recommend making them.
I have loved onigiri since I was 7, when my neighbour gave one to me as an afternoon snack. As we grew older, she would bring it for our other friends and me when we would go to the beach, on hiking trips, and on camping trips. It is the perfect snack/dinner/lunch, because it is tasty, satisfying, and easy to transport. A few months ago, an onigiri shop opened up near my parents house and my close friend and I have visited many times!
A few weeks ago, my roommate suggested that we try making it ourselves – and I was immediately on board!
The ingredients were easy to find – just rice, salmon, seaweed sheets, kewpie mayo, and furikake seasoning.
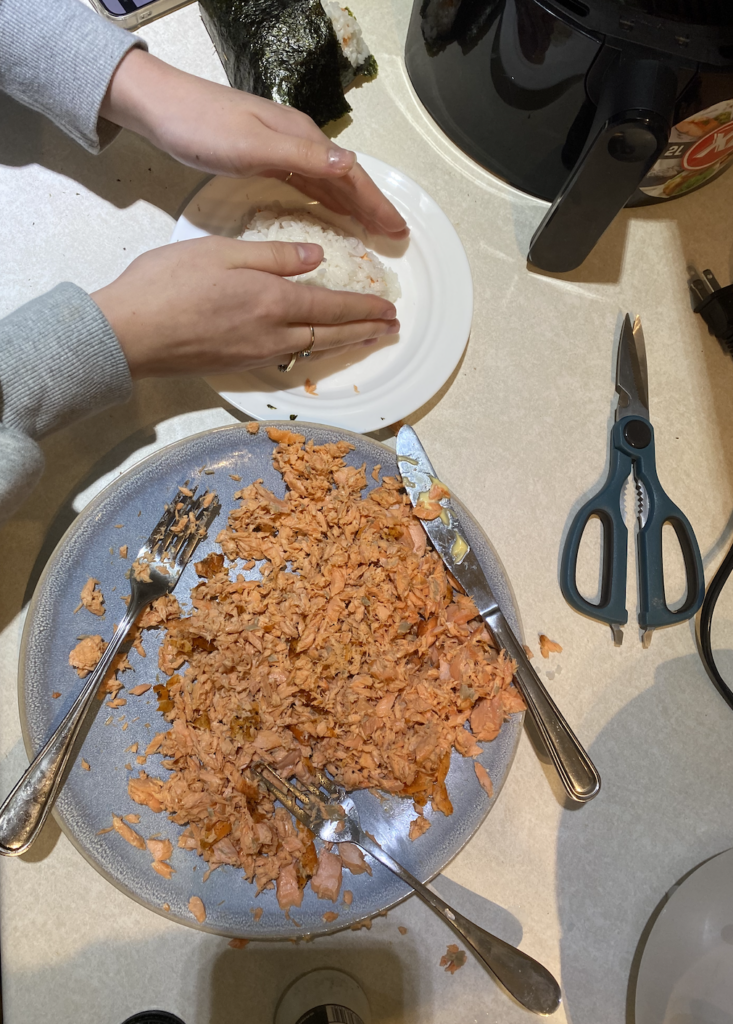
We started by cooking our rice in our rice cooker and our salmon in our air fryer – and then mashed the salmon with kewpie mayo and got to sculpting!
The process took a bit of practice, however thankfully my roommate knew the important strategies (wet your hands and cover them with salt to add flavour and keep the rice from sticking to you).
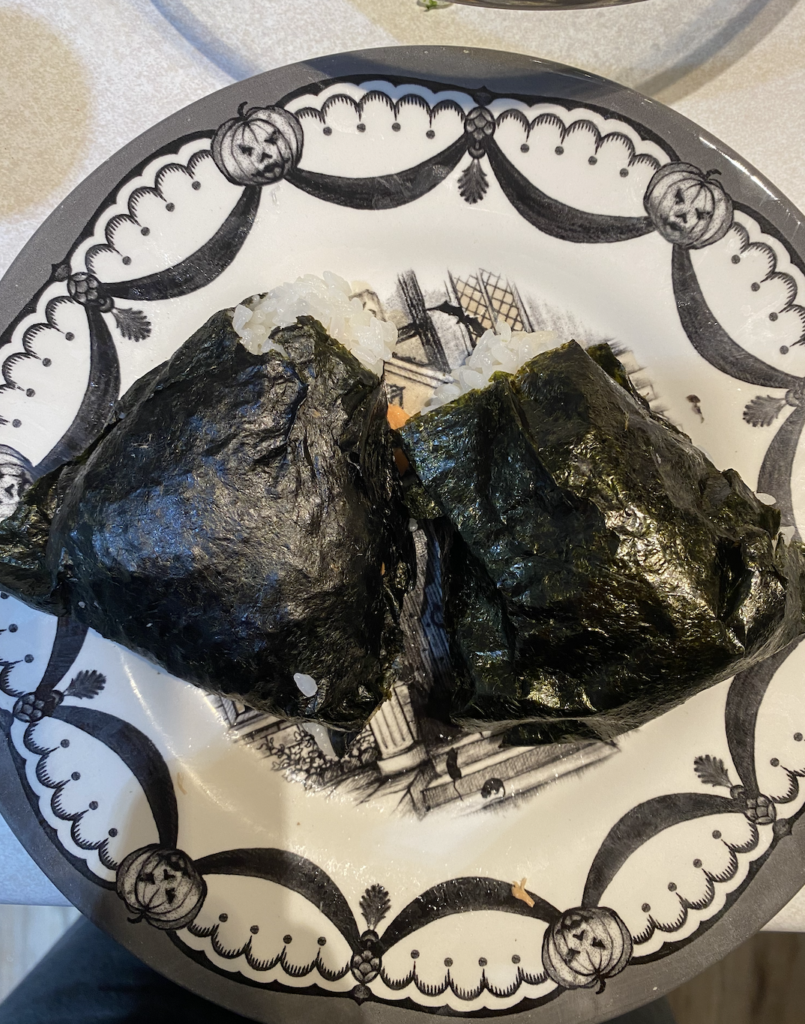
My first attempts were a little bit funky:
*the burrito is interesting looking, but it made for a delicious mid-cooking snack*
While not everything went according to plan (we ended up with a copious amount of leftover salmon), we had so much fun making them! It took about 2 hours, but the time flew by. After we got a hang of things, we were able to make a whole bunch to keep in the fridge and grab on the go!
My Personal Ratings:
The Flavour – 10/10
These were absolutely perfect. I LOVE onigiri and these lived up to my expectations. I am thinking about grabbing one from the fridge as I write this. I would honestly change nothing if I were to make them again!
The Process – 9/10
Now, this did take a decent amount of time (roughly 2 hours). However, no part of it was particularly difficult. Despite the learning curve – even the funky looking ones (like the burrito) were delicious, which is the end goal. It definitely also helped that I made them with my friend – because it made the time fly by! The ingredients were not too expensive, and they were easy to find. I would absolutely make these again – and recommend them to literally everyone (especially as a fun activity to do with friends!).
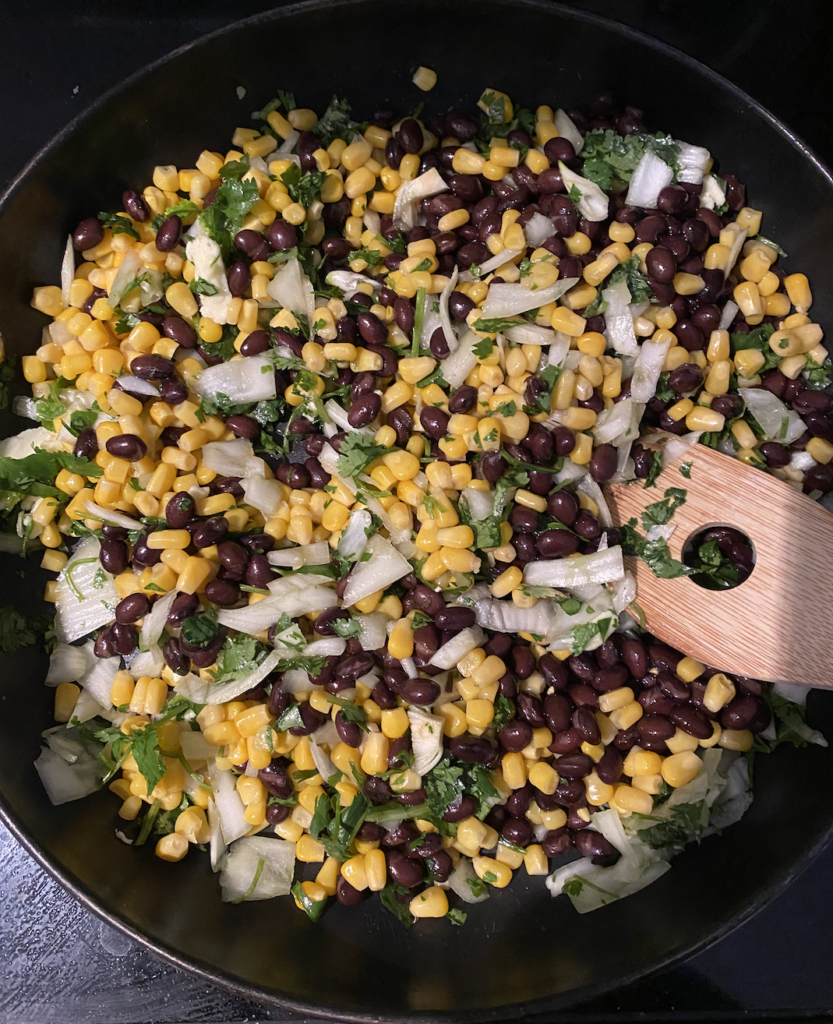
This meal is one that I have been craving since I arrived back in Victoria following winter break. My mom makes something similar – and has told me that it is very simple to make. I am also a frequent customer at Chipotle (too frequent, honestly), and I have been wanting to try to make something like it at home for a while now – and this is where is meal came in.
If you were to click on the link and view the recipe I used, you would see that I did not follow it to a tee. For one, I did not make burritos (more on this later). Additionally, while I used most of the ingredients that they did, I did remove bell pepper – just because of personal preference. However, I did my best to follow their steps and most of the ingredients were there.
Now, the process of completing this recipe was honestly very simple. As I have stated previously, I am not much of a chef. However, this only took me a total of 45 minutes and I didn’t run into any challenges…until I tried to turn my bean-corn concoction into burritos. The tortillas that I had purchased were very small, and I was unfortunately unable to successfully build a burrito. However – I ended up creating burrito bowls and the following day I placed a tortilla under the stuffing (at the bottom of the bowl) which was delicious!
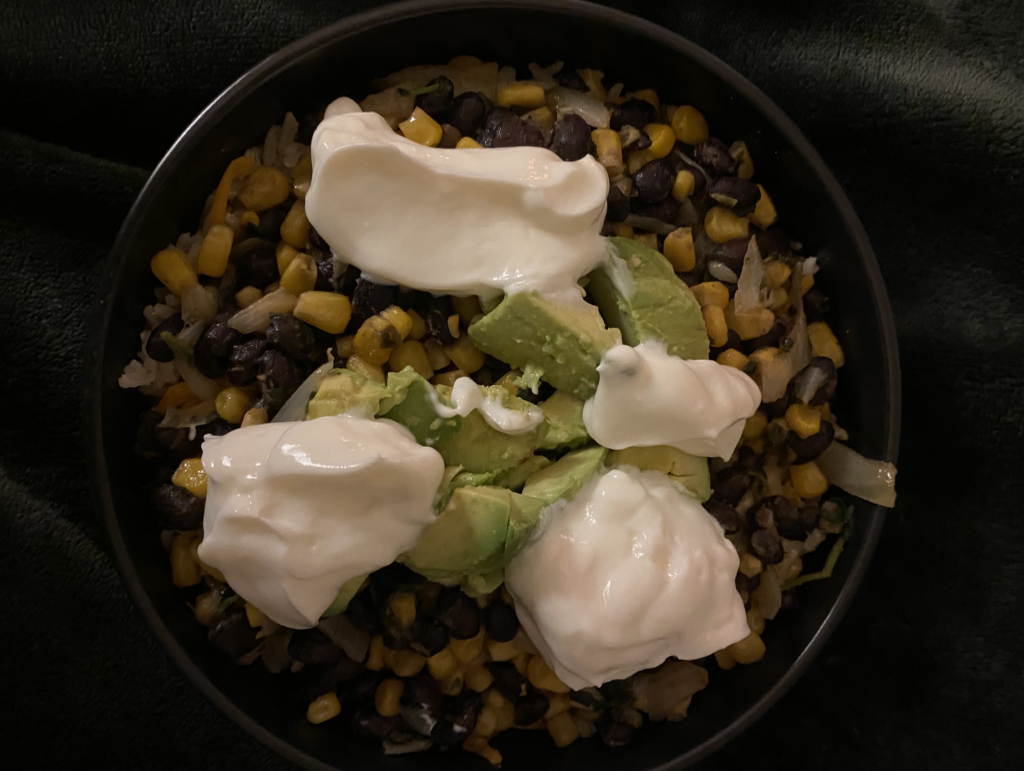
Here is the first bowl I made (without the tortilla). I added rice, cheese, avocado, and sour cream to my mixture:
My Personal Ratings:
The Taste – 8.5/10
This was absolutely delicious! I made enough to give me a week of leftovers and I truly never became tired of it. While I will tweak it slightly the next time I make it (more lemon juice, maybe make salsa as well?), I found this to be incredible. It was a lovely change for the usual 3 meals I make (I’m barely exaggerating), and I will definitely make it again soon!
The Process – 9/10
This was very quick and very easy! I can definitely see myself frequently, because not only did it take me very little time – but it also gave tons of leftovers. Additionally, none of the ingredients were expensive or hard to find, and the wiggle-room in the measurements meant that I didn’t have to waste anything. While I struggled with the burrito wrapping aspect – I enjoyed it as a bowl just as much as I would have as a burrito.
Overall – I loved this and I would highly recommend to anyone who was short on time but was looking for a delicious and satisfying meal.
My Inquiry Question is: How can I try 10 new affordable recipes that I can integrate into my weekly schedules?
Cooking is not something that I particularly enjoy – primarily because I often feel like it takes time out of my day that I could spend doing other things. For this reason, I often find myself cooking the same foods, repeatedly. I rarely venture out and try new things – because I do not want to take the time to look for them. I also tend to order takeout more than I probably should. While this routine is not a big issue in my life, and I do like the foods I cook, I would like to expand my recipe repertoire. I would like to bring more variety into my weekly meals, and I think that this inquiry project will be a good push.
I would like to find 10 different recipes and give each of them a try. I will document how I find the process of grocery shopping for each meal, cooking the meals (including mistakes I make so that I will remember them in the future), and then rate my flavour opinions of each dish. I will also include a link to each recipe. Then, the recipes and my opinions will be saved and I will be able to go back and make them in the future. I am hoping that by doing this I will establish a routine of trying new meals – and maybe I will begin to enjoy cooking more by the end.